Installation Guide for AQUASTRONG Inverter Pool Heat Pump
This comprehensive guide documents the entire process from unboxing to final operation, providing valuable insights for users with similar needs.
Unboxing First Impressions
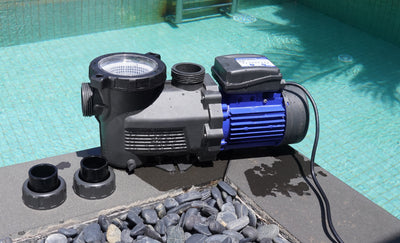
This 220-pound (approximately 100kg) heat pump requires two people for safe handling. The packaging is well-designed, making unboxing straightforward:
-
Cut along the bottom of the shipping box
-
Carefully remove the outer packaging
-
Verify all included accessories
Main components include:
-
Main unit (75,000 BTU heating capacity)
-
Mounting bracket and rubber vibration pads
-
Various connection adapters (1.25-inch and 1.5-inch pipe threads)
-
Drainage pipe assembly
-
Detailed user manual
Initial observations: Noticeably larger than my previous 65,000 BTU model, with significantly bigger fans and more robust construction overall.
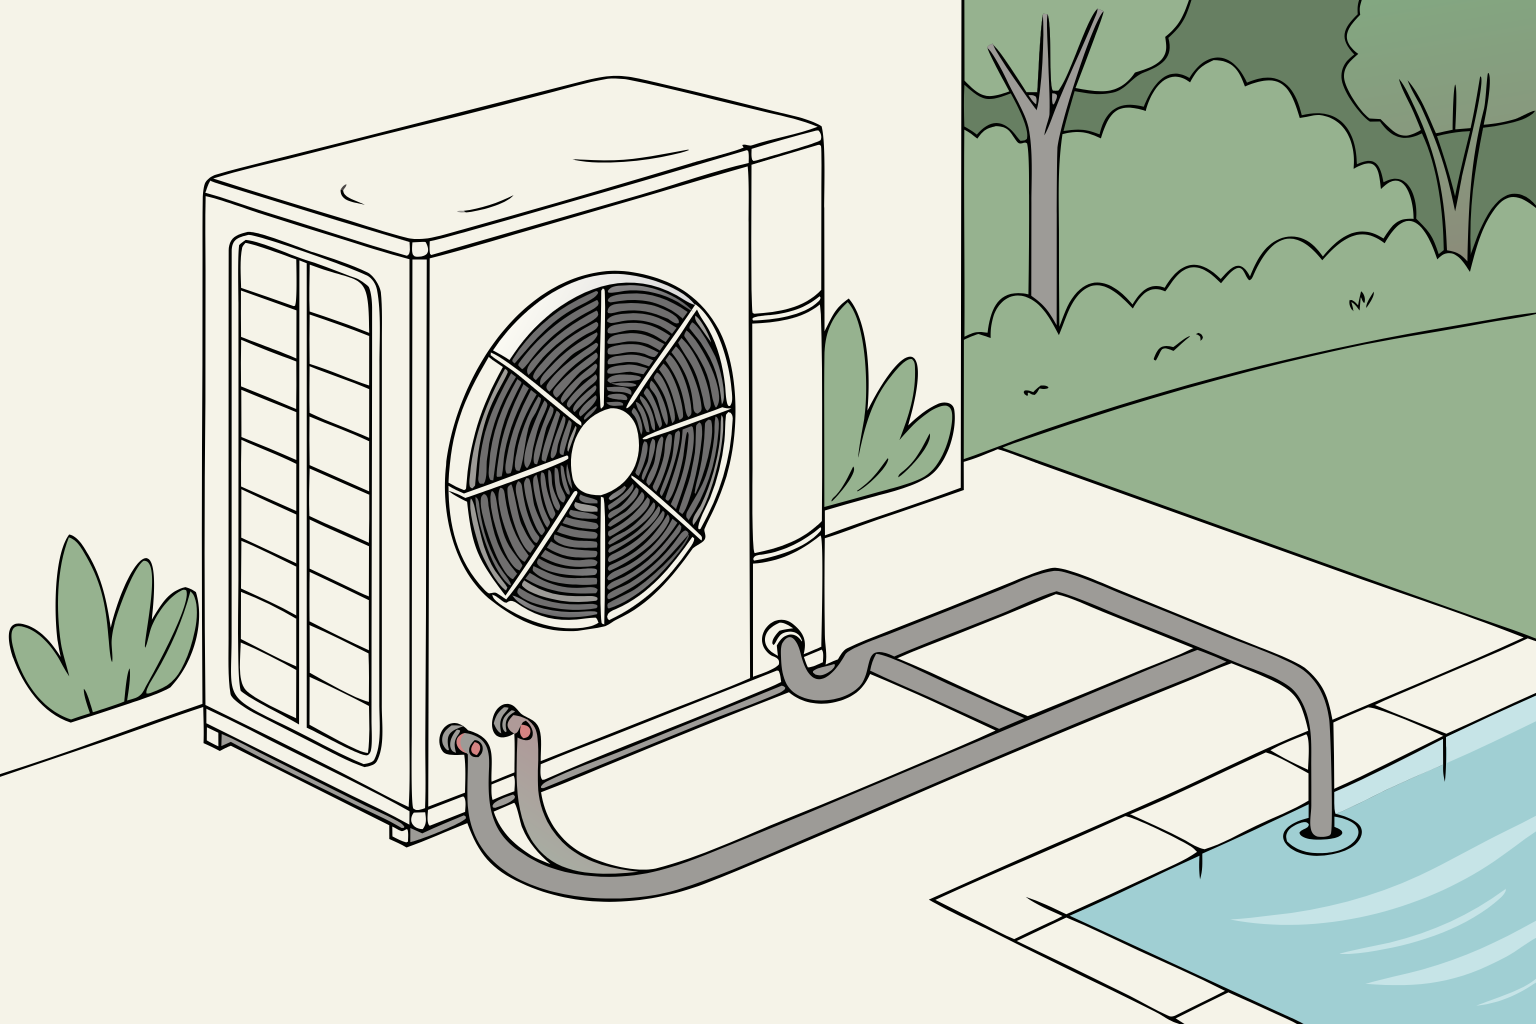
Plumbing System Installation
Key Component: Bypass Valve System
The installation centerpiece is constructing a three-valve bypass system that enables:
-
Regulation of water flow to the heat pump
-
Complete bypass of the heat pump during maintenance
-
Protection against excessive water pressure
Required materials:
-
1.5-inch PVC piping (available at hardware stores)
-
Three control valves
-
Pipe cutting tools (reciprocating saw or hacksaw)
Installation Steps
-
Measurement adjustments: New heat pump connections are spaced at 17-3/8 inches (≈44cm), requiring modification of existing plumbing
-
Bypass system assembly:
-
Inlet valve controls water flow to the heat pump
-
Outlet valve regulates heated water return
-
Bypass valve for complete heat pump isolation
-
-
Connection essentials:
-
Use provided quick-connect fittings
-
Properly tighten all threaded connections (hand-tight plus 1/4 turn)
-
Maintain clean pipe routing with minimal elbows
-
Unit Placement and Securing
-
Moving techniques:
-
Use a hand truck for heavy equipment transport
-
Install protective wood paneling on the front
-
Always have at least two people for safe handling
-
-
Mounting bracket installation:
-
Adjust bracket size to accommodate heat pump
-
Secure with four lag bolts (two front, two back)
-
Ensure perfectly level placement
-
-
Drainage considerations:
-
Significant condensation production expected
-
Install with slight tilt for proper drainage
-
Properly connect and secure drain hose to prevent pooling
-
Electrical Connections and Safety
-
Grounding requirements:
-
Must use 6-gauge grounding wire
-
Connect to 8-foot grounding rod
-
Critical for safe pool equipment operation
-
-
Power connection:
-
Follow manual instructions for wiring
-
Ensure all electrical connections are dry and secure
-
Verify voltage matches unit requirements
-
Initial Operation and Calibration
-
Pre-start checklist:
-
Confirm adequate pool water level
-
Verify all valve positions are correct
-
Check for plumbing leaks
-
-
Parameter setup:
-
Set target water temperature via touchscreen (I chose 84°F/29°C)
-
Monitor inlet/outlet temperature differential (ideal range 1-5°F)
-
Initially set valves to 50% open position
-
-
Performance monitoring:
-
Unit requires 10-15 minutes to reach full operating capacity
-
Remarkably quiet operation - primary noise comes from pool filter
-
Real-time display shows inlet (65°F/18°C) and outlet (69°F/21°C) temperatures
-
24-Hour Performance Results
After continuous operation, pool temperature rose from 64°F (18°C) to 79°F (26°C), demonstrating exceptional heating performance. This efficiency stems from its impressive 15.2 COP (Coefficient of Performance), meaning each unit of electricity produces 15.2 units of heat - far surpassing my old unit's 5.7 COP.
Maintenance Tips
-
Seasonal care:
-
Use drain plug to winterize the unit
-
Disconnect power and provide weather protection
-
-
Routine checks:
-
Regularly clean air filters
-
Verify unobstructed condensate drainage
-
Monitor pressure gauge readings
-
Conclusion
While installing the AQUASTRONG Inverter Heat Pump requires some physical effort and plumbing modifications, the technical complexity is manageable. Its outstanding heating performance, energy efficiency, and quiet operation have exceeded all my expectations. If you're considering replacing or upgrading your pool heating system, this product deserves serious consideration.
Pro Tip: Always review the manual thoroughly before installation, prepare all necessary tools and materials, and consult professionals if any questions arise.